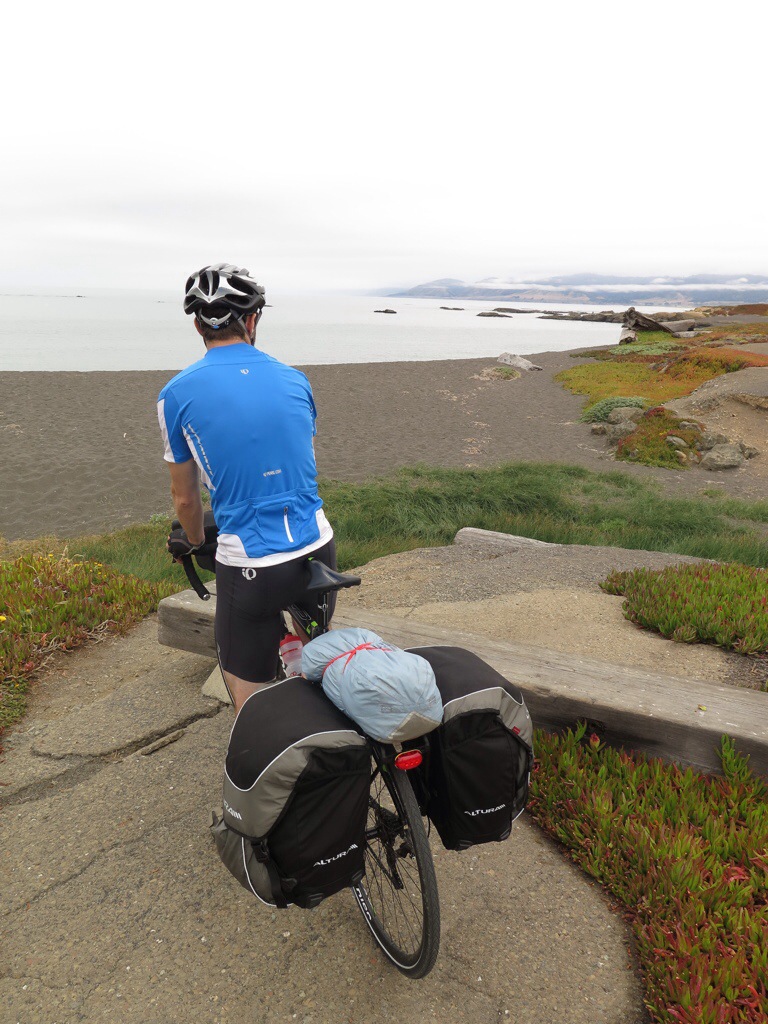
I’ve been fascinated by self-powered adventures, especially those starting and finishing at home, for as long as I can remember. Adventures that are self-contained and car-free.
It’s the ultimate freedom. You have everything you need with you and no set destination to return to. (Well, apart from home, unless you’re setting off on something epic of course…)
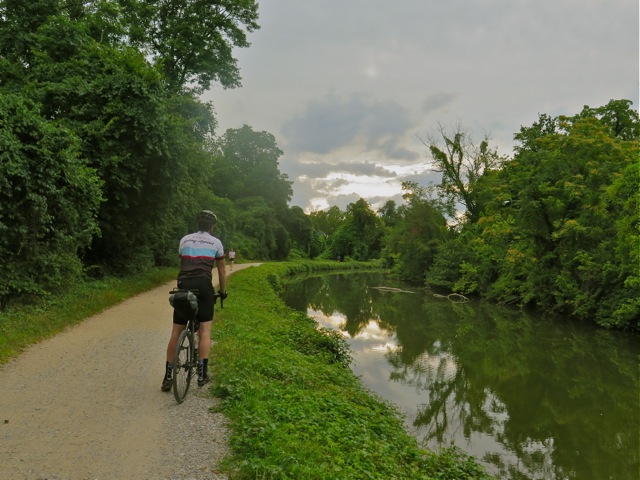
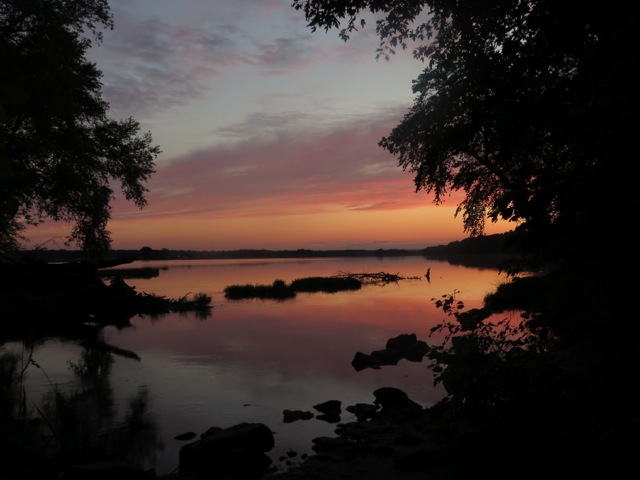
For the past few years, I’ve been combining two of my favorite activities: standup paddling and biking. I’m fortunate to live at the confluence of two major rivers on the East Coast of the US. One has a bike trail running alongside it. It’s the perfect territory to perfect the art of using bikes and paddle boards to access and explore rivers.
So when my friend Chuck texted me recently, asking if I wanted to paddle the next day, I said yes immediately. I knew I would bike to and from the river with my board. I packed that night so I could get an early start.
The following morning, I biked for 22 relaxing miles along the bike trail to our rendezvous at the boat ramp. My paddle board was rolled up and strapped to the top of my front pannier rack. Apart from slightly heavier steering, the effect on my bike handling was minimal.

At the boat ramp, I blew up my board and strapped the bike to the front whilst waiting for my friends to arrive.

When Chuck and Brenda arrived, they were intrigued by my car-free setup. Questions abounded. How is the bike strapped on? What’s the extra weight like? Is the board stable? To which I answered, yes! We launched and paddled into the main current.
The board was perfectly stable, even with the extra weight up front. The effect on board handling was negligible with the bike positioned over the centerline. One difference though: with all those sharp objects in front of me, I was extra careful to not fall forwards! Especially when navigating through the occasional bumpy riffles.

Our merry flotilla floated downstream enjoying the aquatic world gliding beneath our feet. We spied huge catfish, 70-year old river clams, and old tires beneath the surface. We startled a great blue heron and, later, saw a pair of bald eagles fly overhead as we continued downstream.

Eventually, busy-life demanded my return and the spell of the river was broken. We took out at a deserted boat ramp.
Here, I deflated my board, rolled it up, and strapped it on the front of my bike. I bid my companions farewell as my adventure continued. I swapped paddle strokes for pedal strokes and rode home, the river by my side, with a grin as wide as the bends of the river itself.
Route Tips

Many rivers have parallel roads and boat ramps. It’s likely you can create your own multi-sport loops in your neck of the woods.
Some pointers to keep in mind:
- You want to be comfortable standing on your board before you try paddling with a bike strapped to the board as well.
- Start with a small goal to get used to the setup and extra weight, both cycling and paddling.
- Stick to flat water to minimized the chances of falling forwards onto your bike.
- Keep in mind that it takes about 20 – 30 minutes to transition from the bike to being on the water and vice versa.
Biking Setup
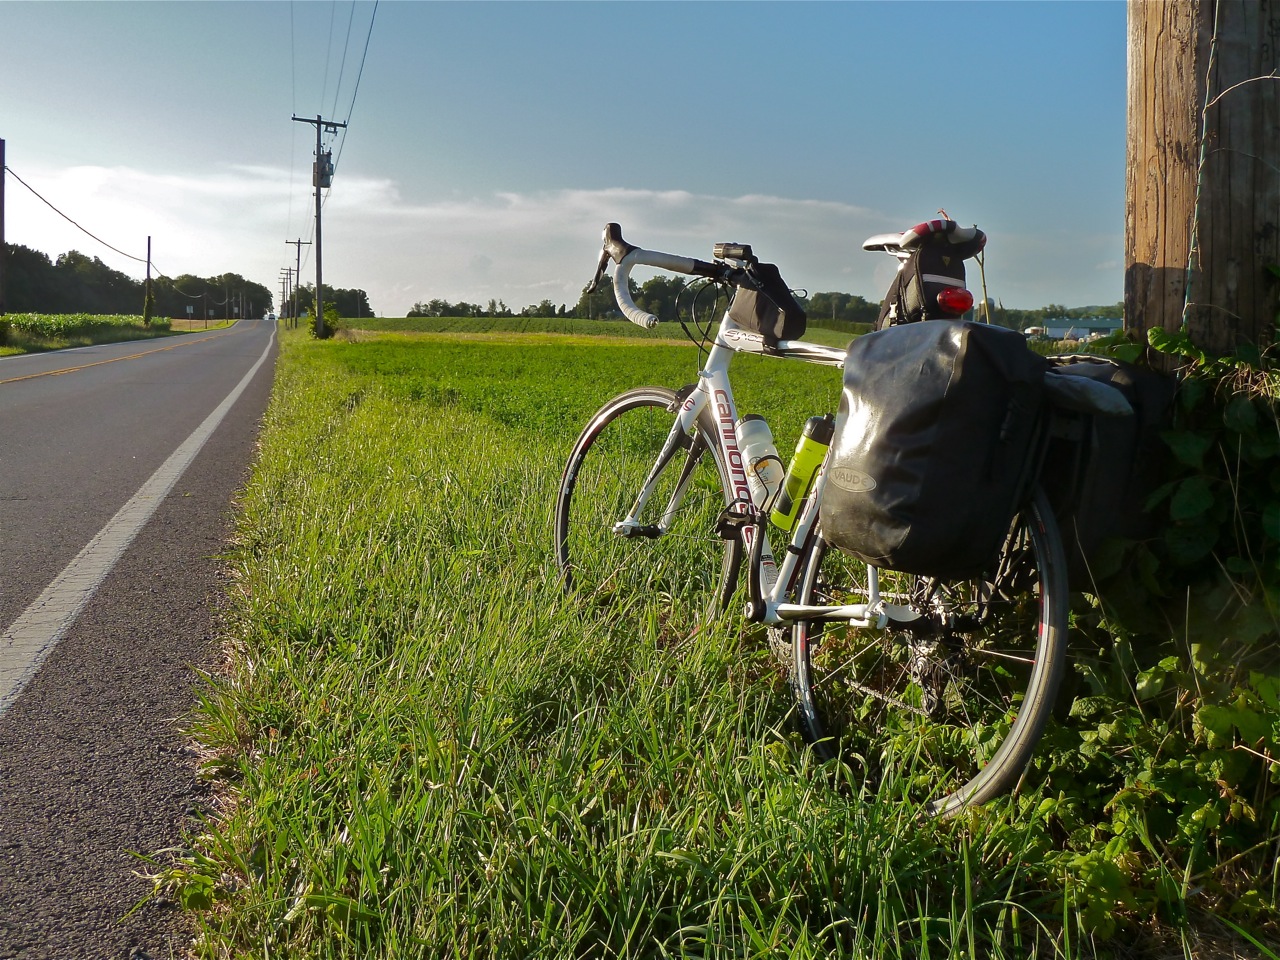
Any bike will do, but it’s probably advisable to have wider tires for stability when you’re carrying the extra weight. Plus, you’ll likely want to fit a pannier rack so eyelets are a good idea (though it is possible to fit a rack without eyelets).
I’m riding a Surly Grappler, which is an all terrain drop-bar mountain bike. It’s ideally suited to this kind of adventure touring.
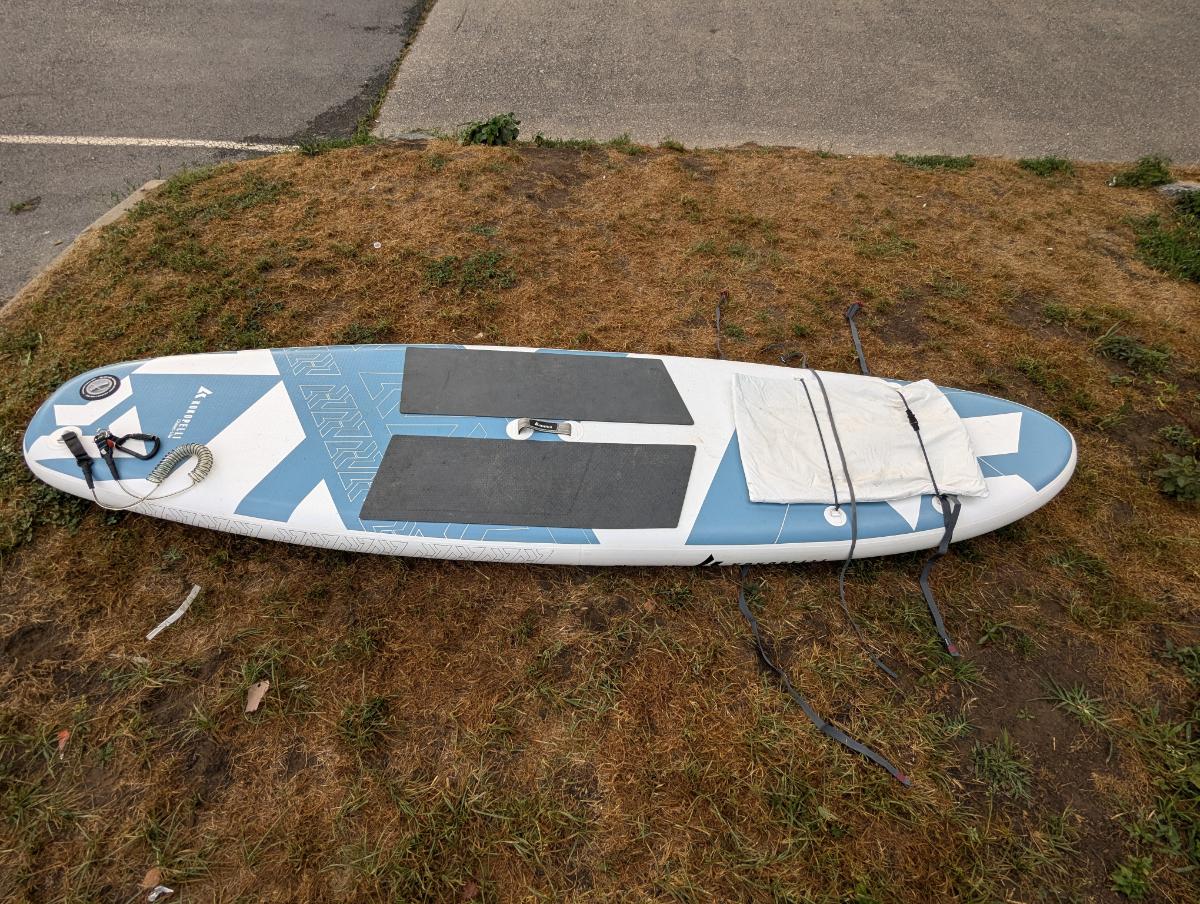
The Kokopelli Chasm Lite is the lightest paddle board in the world, so it’s uniquely qualified for this type of adventure. It rolls up small enough to sit comfortably on the top of a bike rack (or fit into a backpack if you’re a hiker!).
Most other paddle boards are too large and heavy to carry on the bike itself. You could carry them on your back in a huge backpack, but that’s not comfortable for longer distances. For heavier and bulkier boards, you can undertake car-free trips using a bike trailer. But the whole setup is much bulkier.
To carry a lightweight paddleboard on your bike, start by rolling up the board with the paddle inside the roll. Then wrap this board inside of the foam pad that you’ll use later on to protect the board. This SUP sushi roll is strapped on top of the front pannier rack.
A rear pannier rack would also work, but I prefer to have the weight up front. I find that heavily laden bike with all the weight over the rear wheel makes the steering very light and squirrely, which has led to one bad crash for me on a previous tour.

Carry the pump, fin, and other accessories in a frame bag or a seat pack.
PFDs (life jackets) are bulky. So far, I’ve found the best place to carry them is to strap them around the seat pack, which works pretty well. If you do this, make sure the straps are cinched super tight to avoid the PFD hitting your rear wheel.

Paddling Setup
Most paddle boards can comfortably carry a bike as you paddle downstream or across a lake. One caveat, you should only try this if you’re a fairly experienced paddle boarder with good balance. You don’t want to be falling on top of a bike. They’re sharp and expensive. To carry a bike on your board:
- Tuck a pad under the front bungee straps of the board (to protect the board). Use a cutoff from a foam camping pad, or foam packaging, or something similar.
- Remove the front wheel of your bike.
- Strap the bike over the front of the board, with the handlebars twisted.
- Put the drive side facing up (gears away from the board).
- Rotate the pedals so the lower pedal hangs over the side of the board (it will dip in the water occasionally so you could optionally remove it if you like).
- Use a couple of webbing straps under your board and threaded through the front D-ring eyelets to secure the bike (I like using Sea to Summit Accessory Straps).
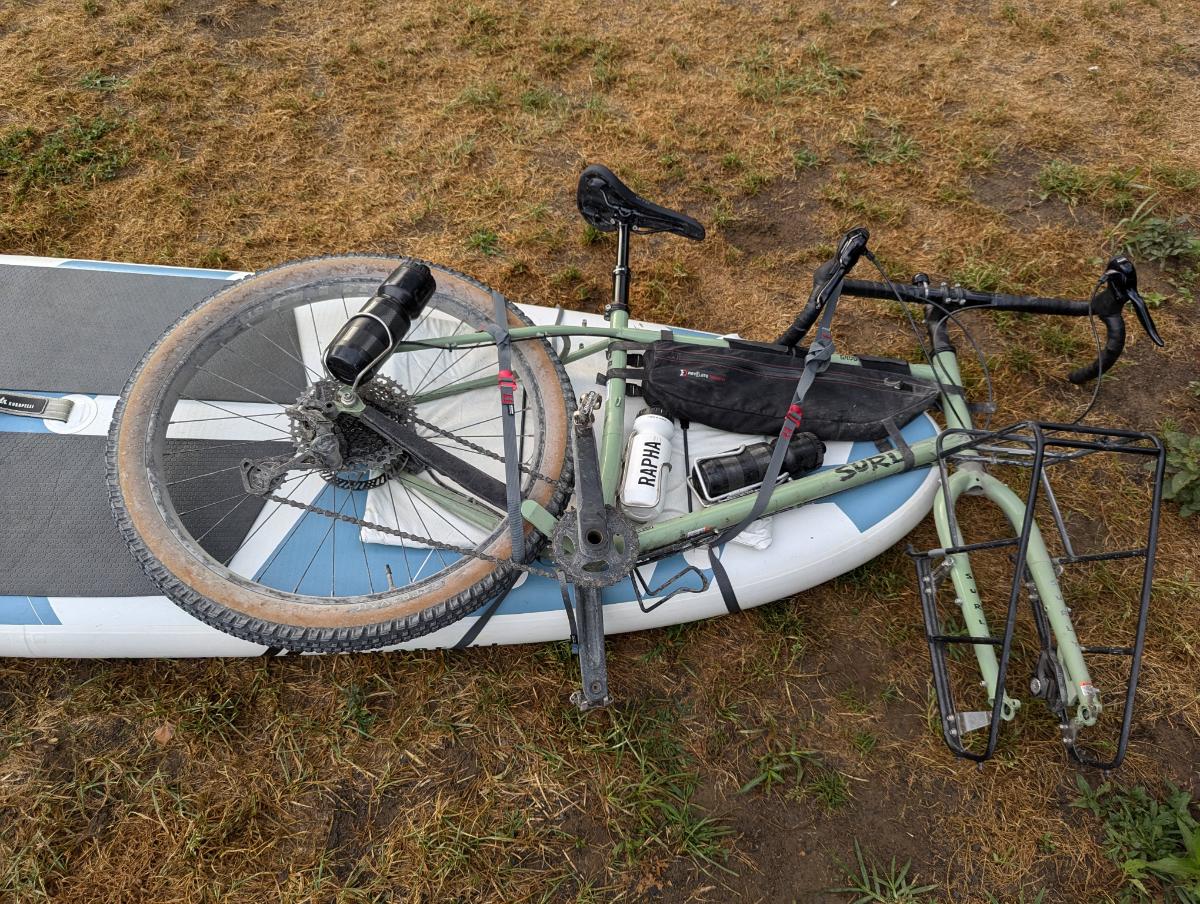
- Strap the front wheel and any baggage on top of the bike.

- Keep snacks, a drink, sunscreen, etc. accessible in a small dry bag clipped on top of the bike or to the handle in the center of the board. That way you won’t have to dig around under your bike to find essentials on the river.

- Tie off loose strap ends to keep your board.
- Set this all up next to the water. The board is an absolute beast to carry once it’s loaded with 40 lbs of bike gear (speaking from experience…).
Before paddling off, give the board a wobble-test to check everything is secure. Think about what would happen if your board flipped over. Is everything tied down?
Multi-day Expeditions

So far, I’ve done one multi-day bike SUP tour, over 3-days. But that was before I moved to a lightweight SUP, so I used a trailer to carry my board when biking. The trailer works fine, but it’s bulky and annoying when you’re cycling and then more gear to strap onto the board.
My goal is to add a pair of front panniers and a full frame bag to the lightweight bike/board setup above, negating the need for a trailer. I think that’ll be the best way to do multi-day bike SUP tours.
Watch this space…
Further Resources
A few other crazies have tried bike SUP adventures over the years, here are their stories: