Author Archives: benlcollins

Harpers Ferry Fall Foliage Adventure Race

18th October 2025

  • Distance: 26.91 mi (7 miles kayaking / 16 miles biking / 4 miles hiking)
  • Time: 4 hours 30 minutes
  • Ascent: 852 ft
  • Weather: Overcast, mid 50’s F

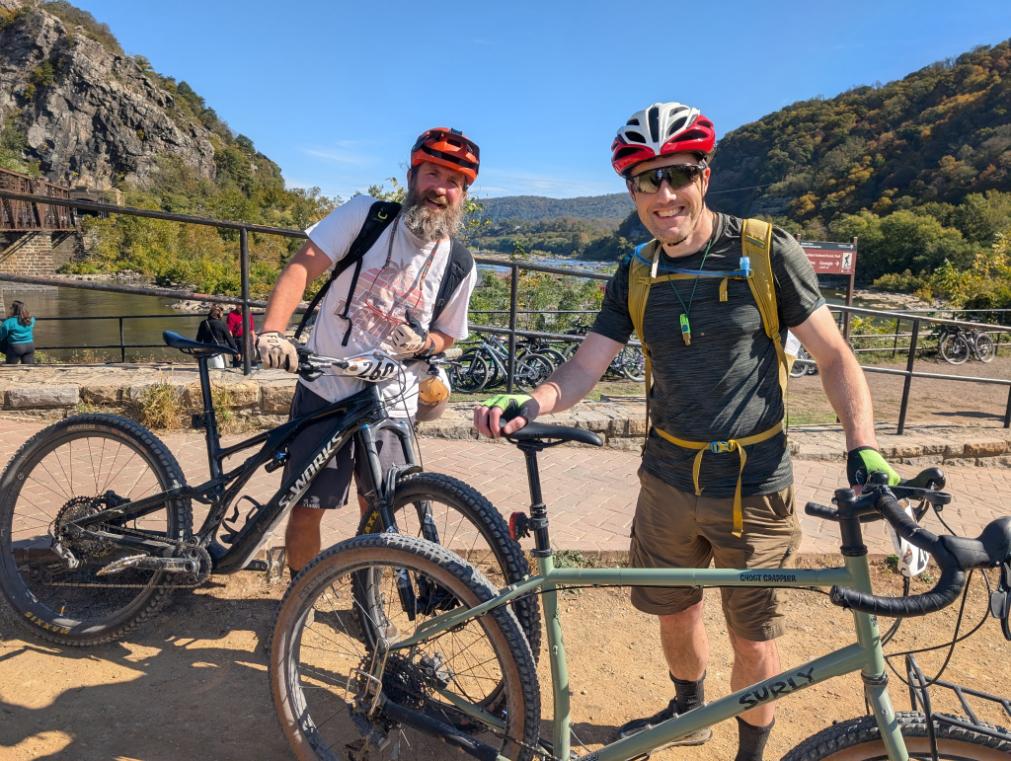
In early September, my friend Ben asked me if I’d partner him on an upcoming adventure race happening in our little town of Harpers Ferry, WV. Hell yeah! I didn’t need much convincing.

Ben (me, L) and Ben (R, my neighbor), officially known as the Bolivar Bandits, or Ben² as my son called us

It was a short, half hour walk over to the NPS parking lot, which was being used as the race start area and finish line. We racers huddled in our little groups, shivering slightly in the chill morning air. The 13-hour racers were off first, bussed to the river above dam 3, where they would set off. A little while later, the rest of us, mere casual 5-hour racers, boarded our big green bus to take us to Potoma Wayside, below the rapids, where our race began.

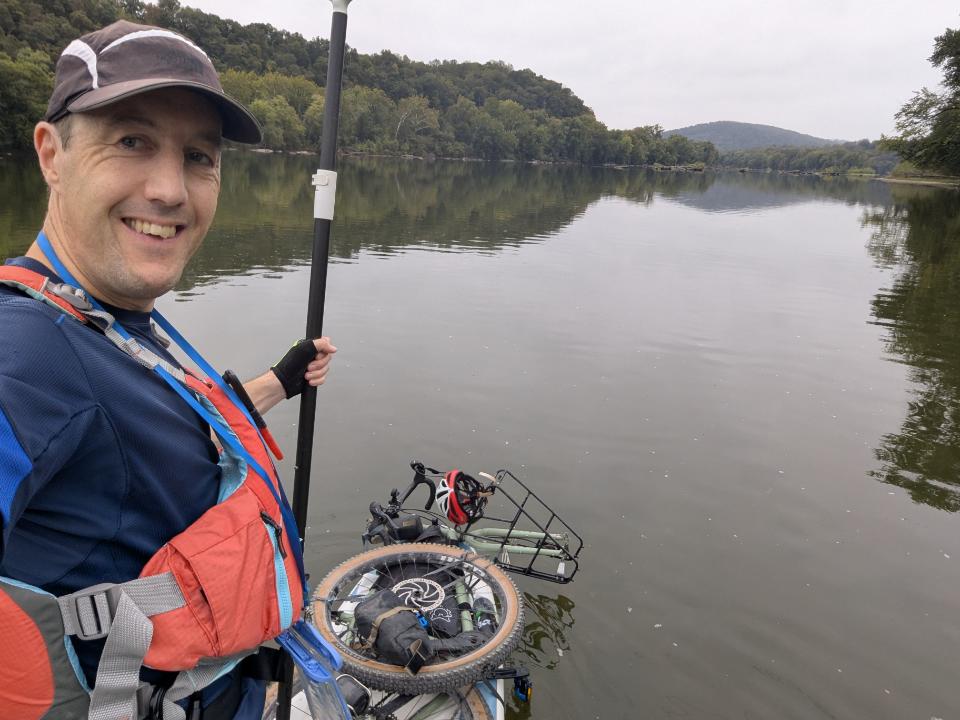
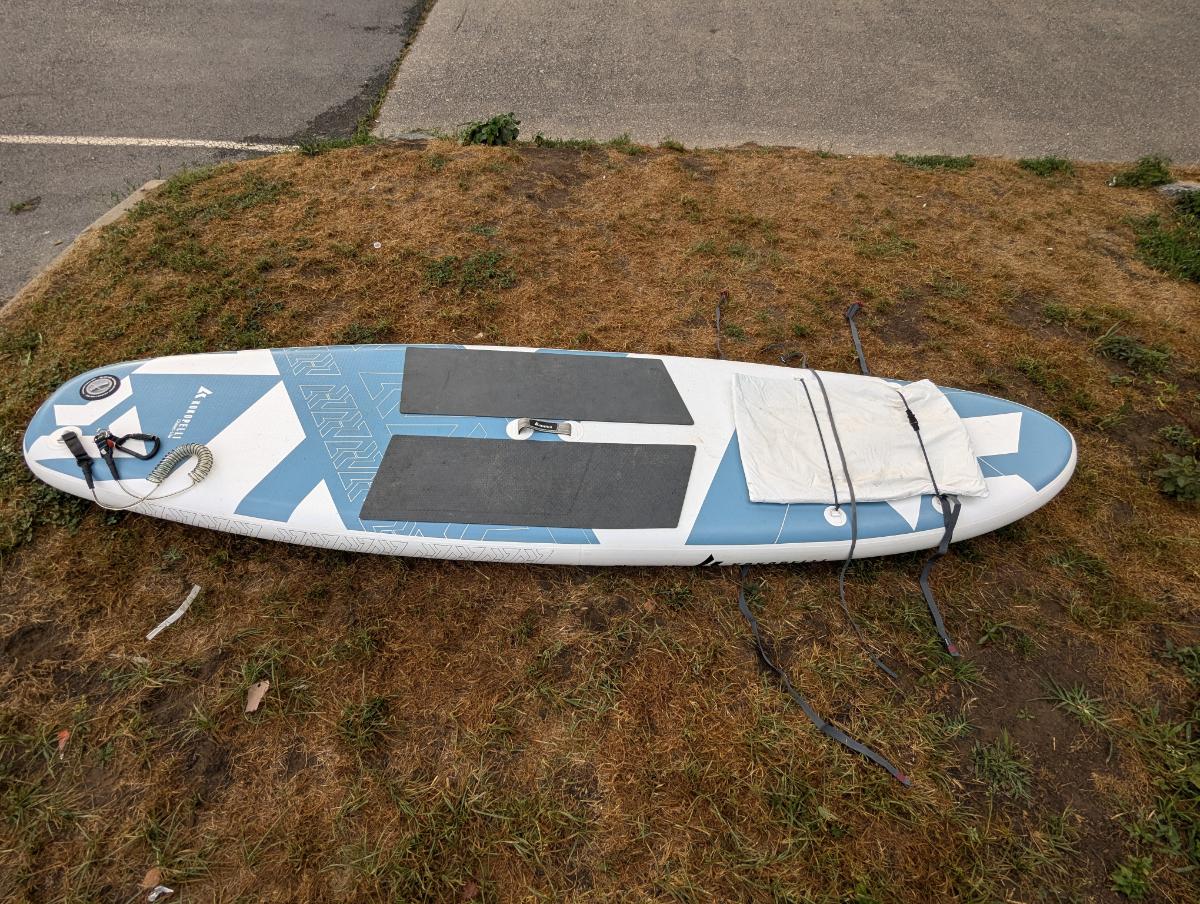
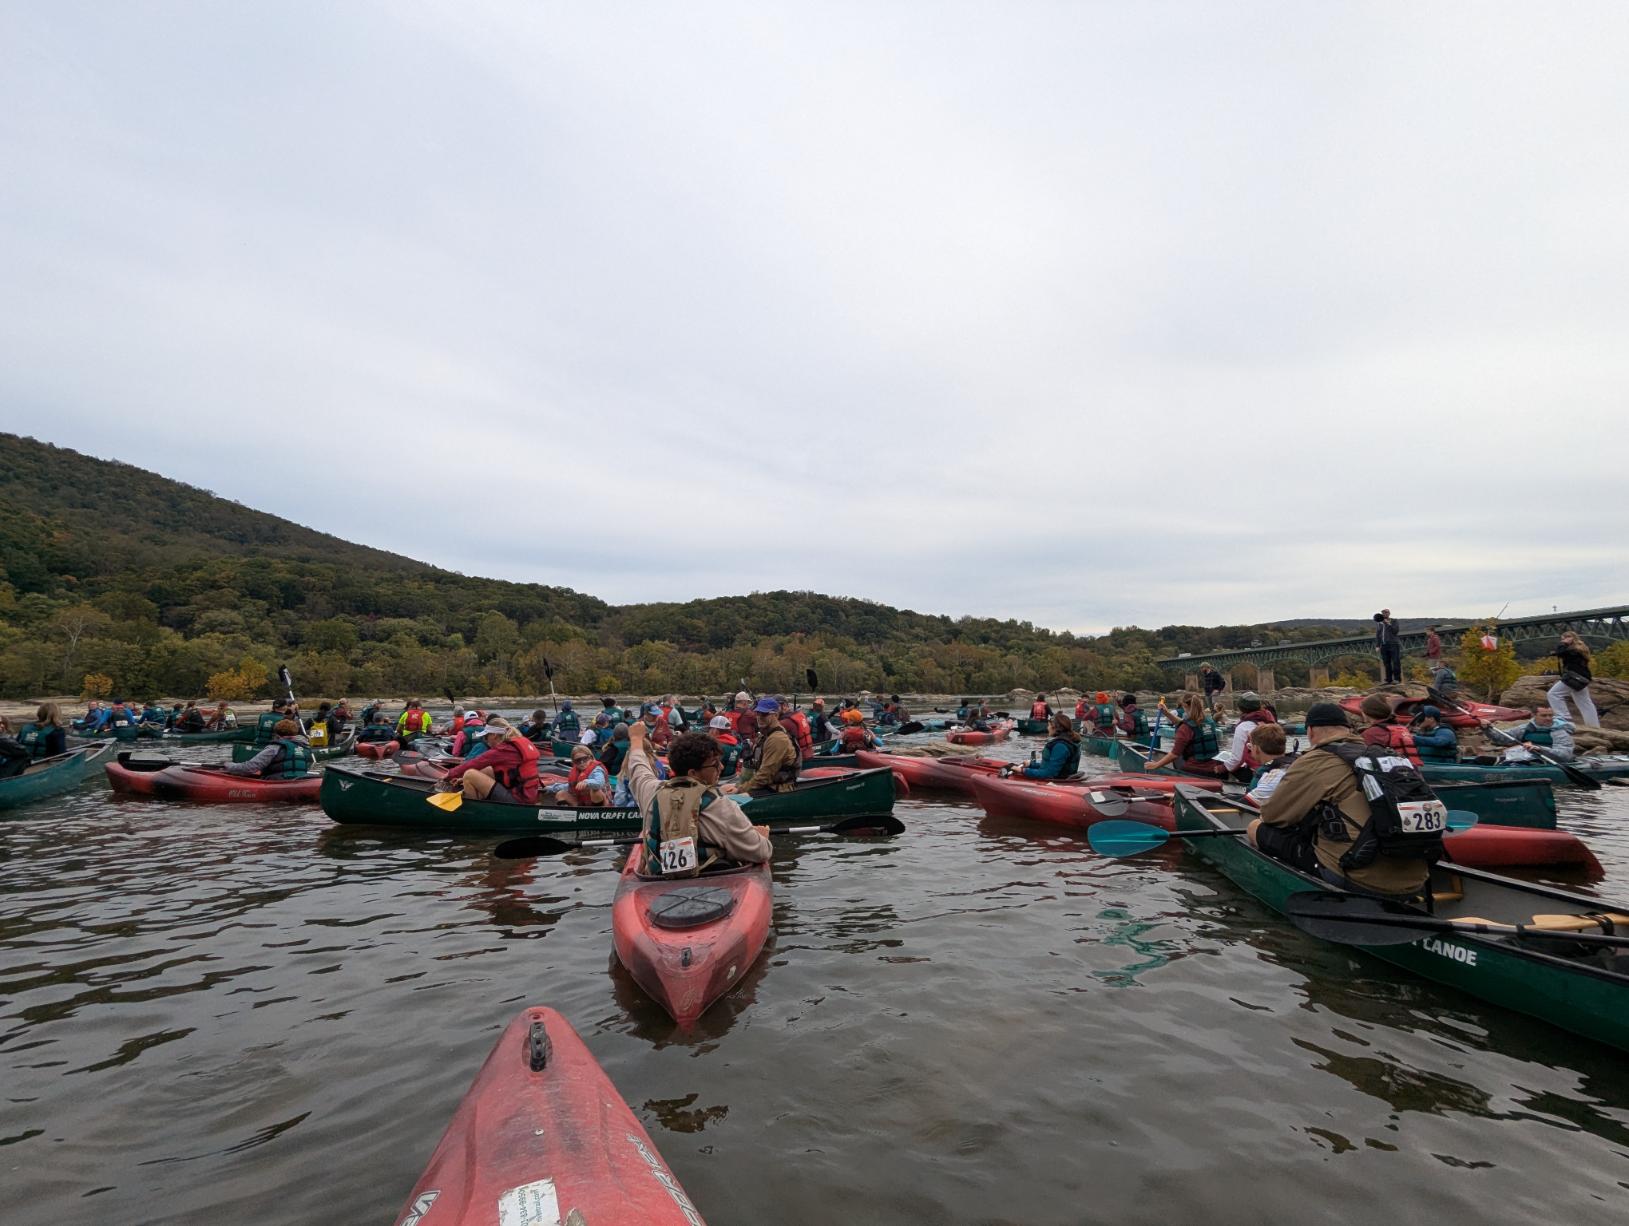
A vast flotilla of small watercraft awaited us at the river edge, a riparian hodgepodge of vessels. Pot luck put us into separate red kayaks, which ended up being to our advantage as the two person canoes struggled badly over the rocks given how low the river was.

My first mistake was not taking off my jacket before jumping into the kayak. It had been a cold morning but I warmed up quickly with the effort of paddling and within a few minutes had to pause mid-river to remove my jacket, not easy with a life jacket on.

Everyone was getting stuck on rocks after leaving the riverbank, so it was very stop-start affair until we got into the river channel proper, where everyone naturally spread out.

My arms were on fire paddling for the first half hour, because of an arms workout two days earlier, and I honestly thought this is going to be torture for the next couple of hours. I did all I could to keep up with Ben.

Thankfully after half an hour or so my arms stopped complaining and I was able to lift the pace fractionally to avoid being left behind.

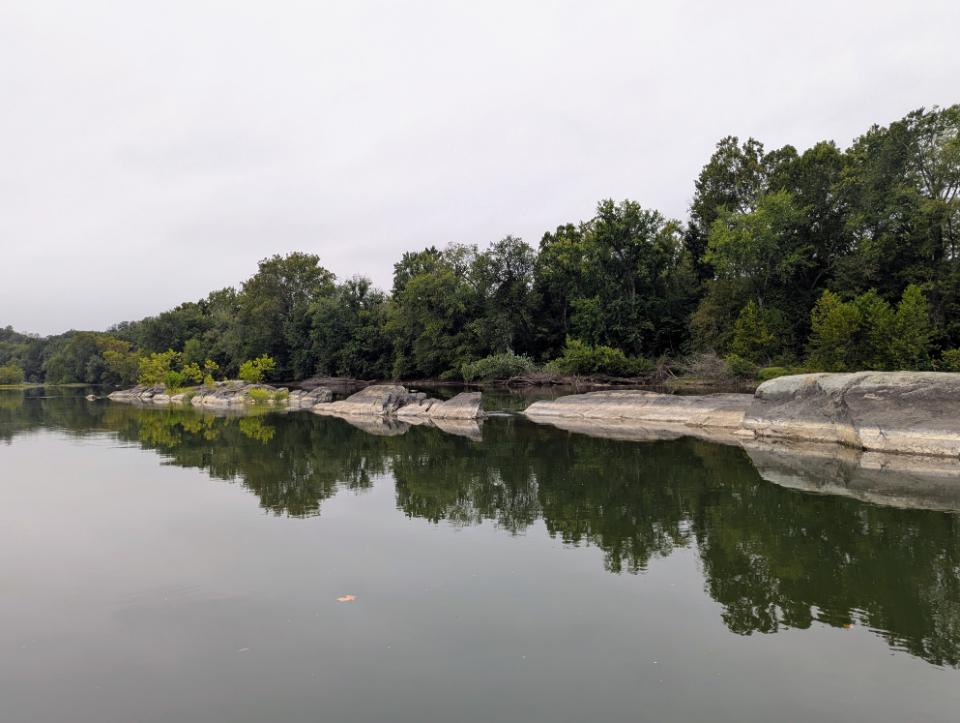
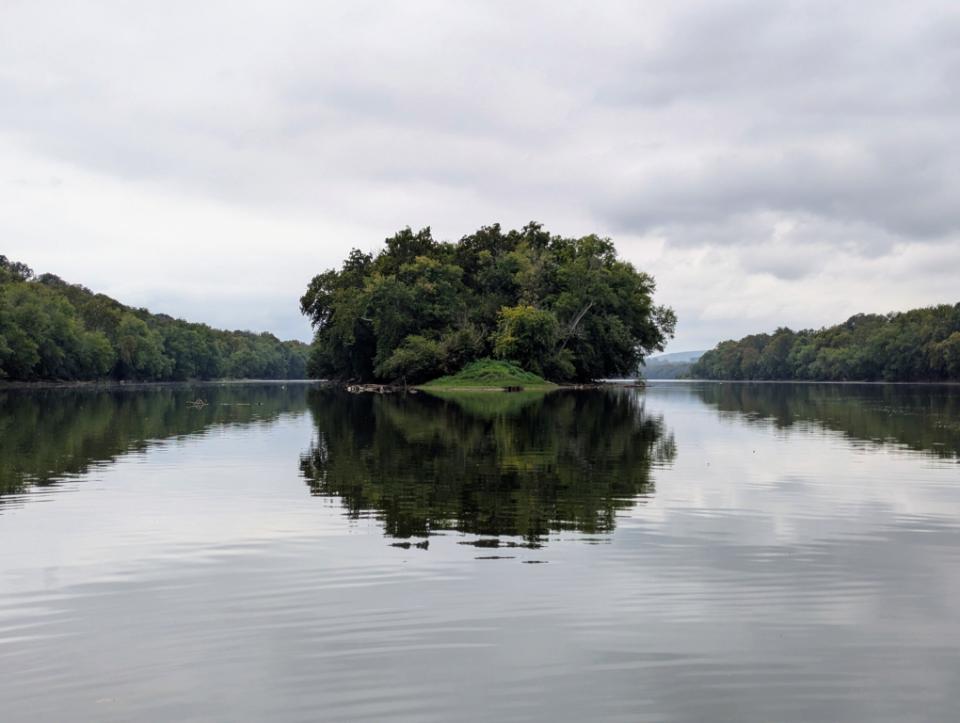
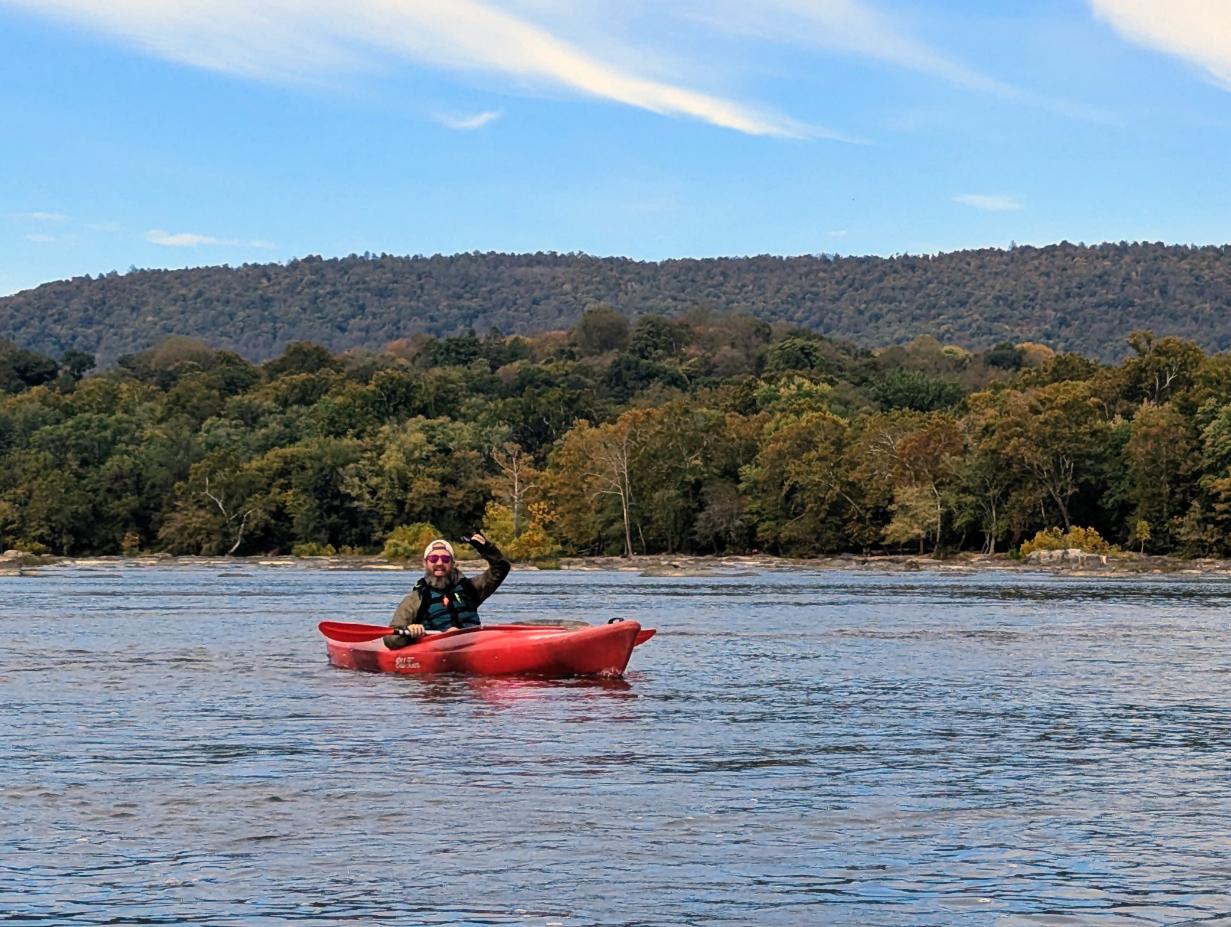
The scenery was of course magnificent. It was a real treat to be out there.

Our biggest mistake was not reading our map carefully. Or at all, in fact.

This was a rookie error that led to a fruitless quest across an overgrown island searching for an elusive checkpoint. We wasted many minutes before realizing the checkpoint was actually on an entirely different island.

In the meantime, all the racers we had overtaken at the start now took the shorter inside channel, ignored this island, and powered back past us.

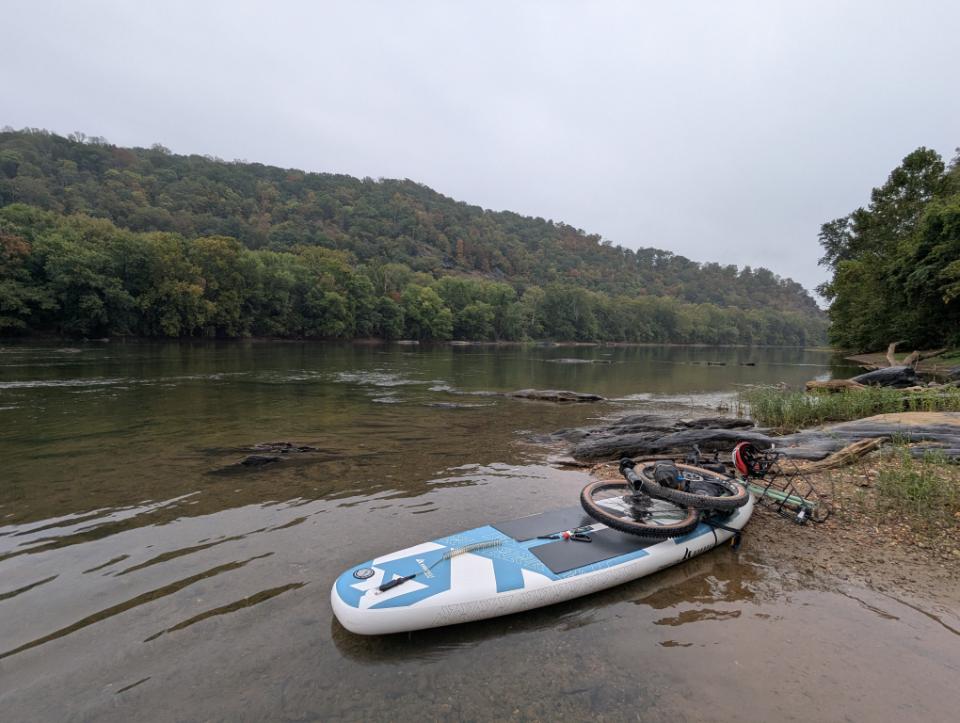
My sore arms notwithstanding, I really enjoyed the paddling leg. I LOVE being out on the water in a small craft, exploring and taking it all in from this unique vantage point.

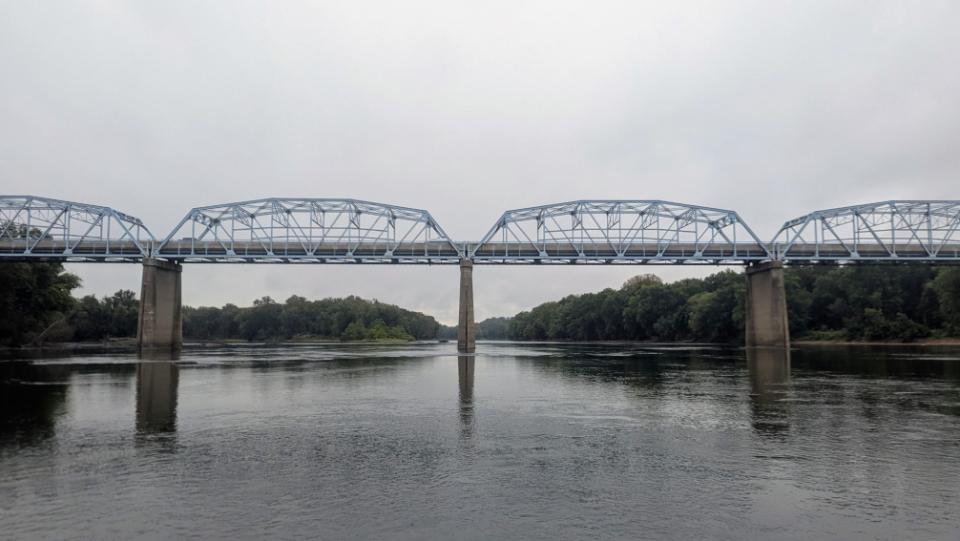
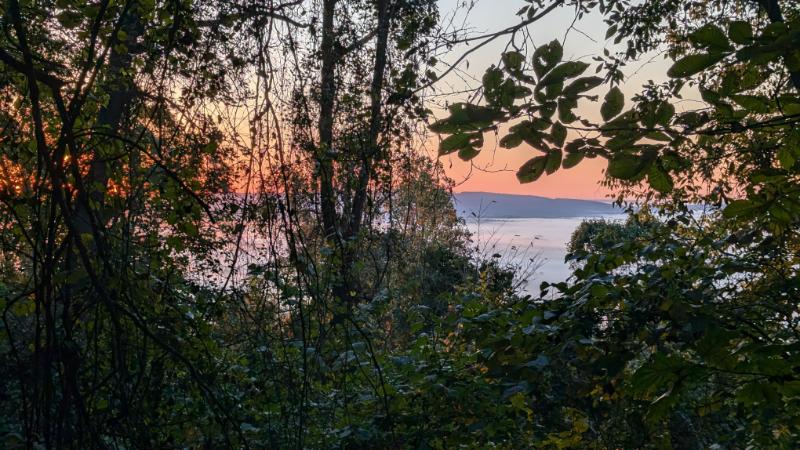
Our view approaching the Brunswick bridge, route 287, over the Potomac:

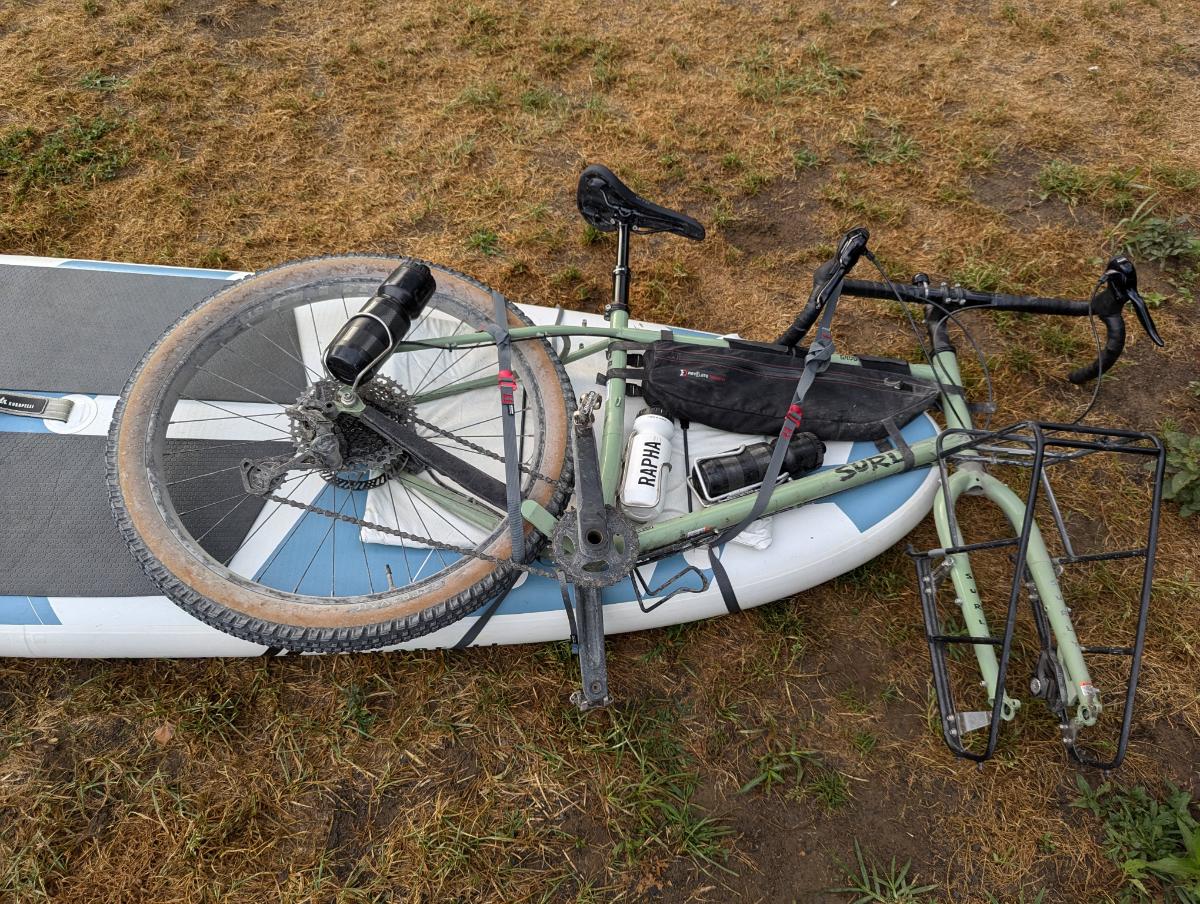
After roughly 7 miles, and 1 hour 45 minutes, of paddling, we pulled up to the boat ramp at Brunswick Family campground, for the transition to bikes. This was accomplished with relative ease, although we both remarked that we felt quite tired and beat up already, haha.

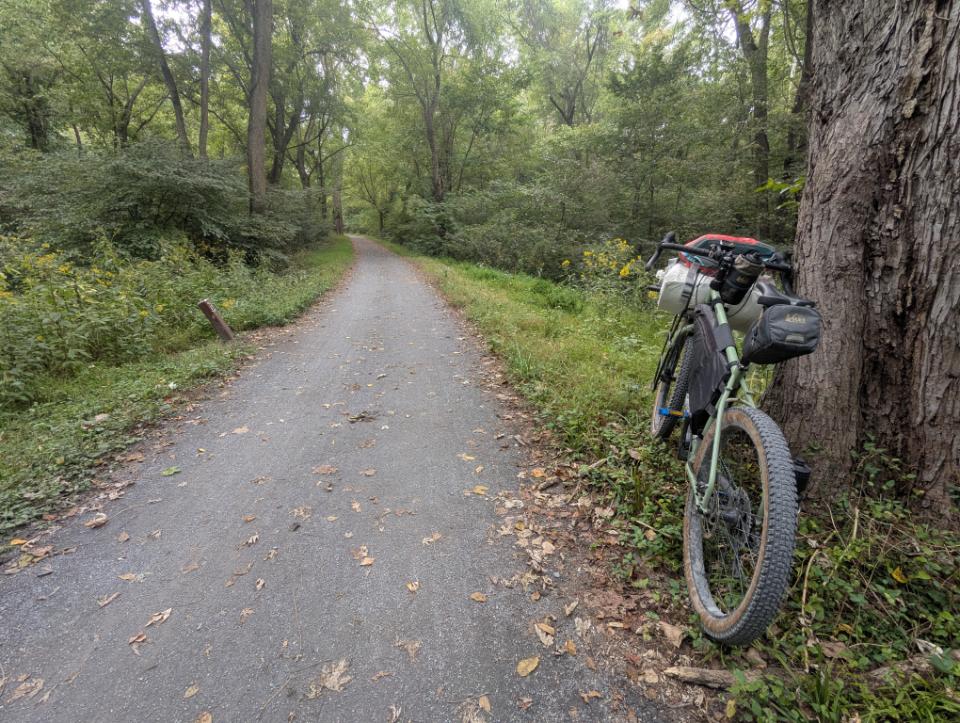
With the bikes retrieved and snacks consumed, we hit the canal with a grin and pedaled downstream to the first checkpoint at Little Catoctin Creek. Leaving bikes by the aqueduct, we rushed down to the river searching for the checkpoint marker.

Perhaps the most fun aspect of these adventure races, or other big outdoor endeavors that are time pressured (because of encroaching darkness or weather), is how focused you become on the task at hand. You exist in the flow state for hours on end, hardly thinking about anything except solving the next step of the puzzle. It’s better than therapy and it’s free.

In this case, we had to wade through the muddy creek bed to find the marker on the far bank, where the creek emptied out into the Potomac river:

The markers were little orange and white triangles, with an electronic tagging system. We carried a little doodad that we plugged into the electronic gizmo, which recorded what time we reached each marker.

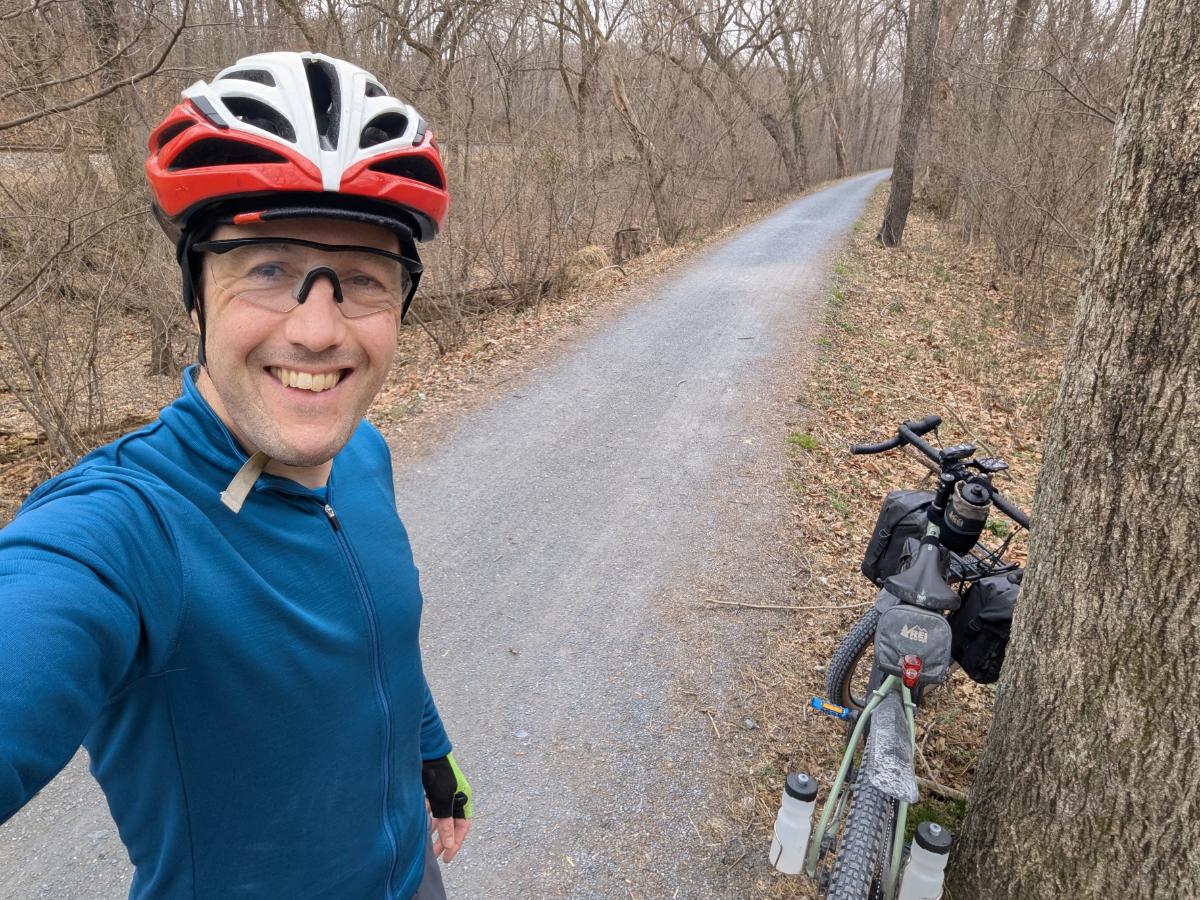
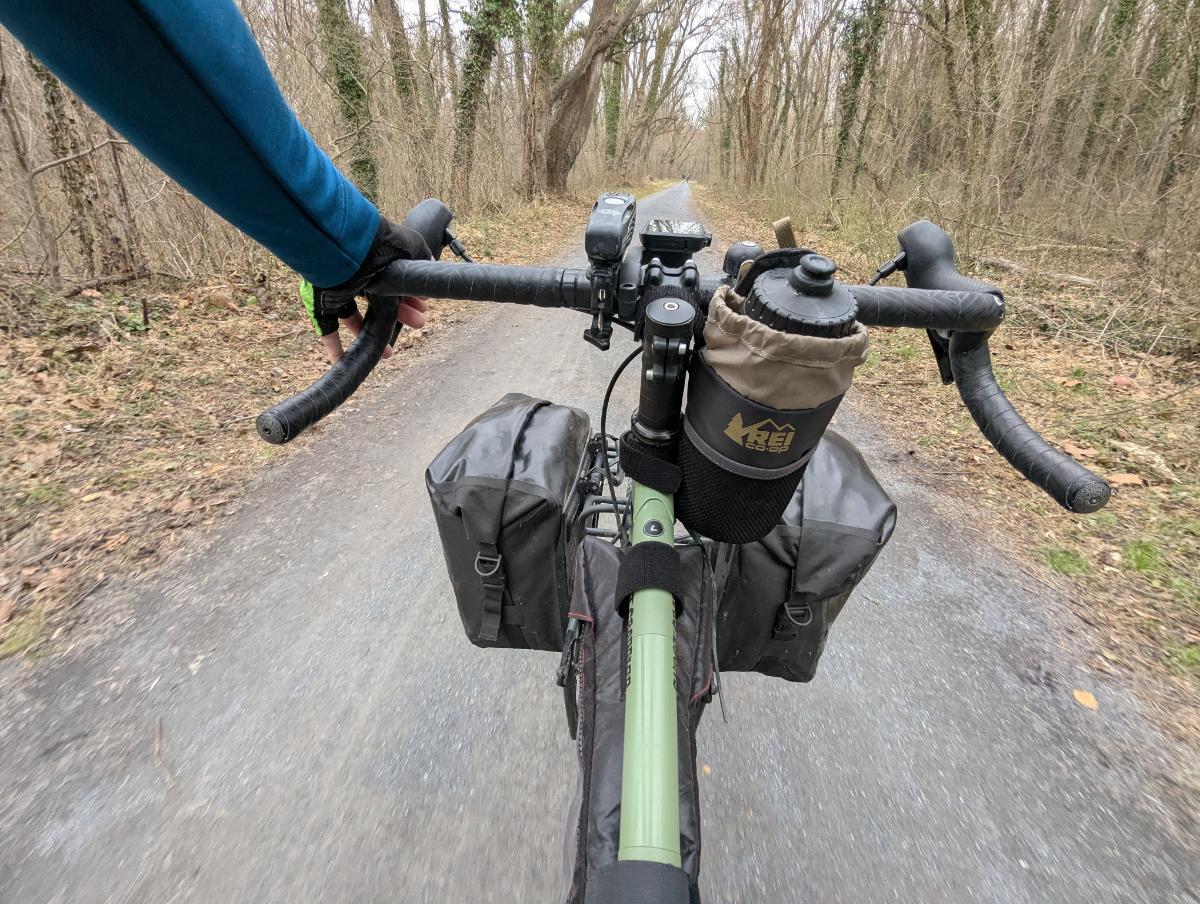
We backtracked to the bikes and headed upstream on the canal, back towards Harpers Ferry, stopping a few more times for side quests into the woods to tag checkpoints.

Ben was on a full suspension bike, so he was bouncing away like a madman on a pogo stick.

The route took us as far upstream as the ruined lockkeeper’s house at Lock 35. This final biking checkpoint was hidden inside the ruin, so I had an excuse to see inside that building finally. I must have ridden and walked past it hundreds of time over the past five years but never been inside before.

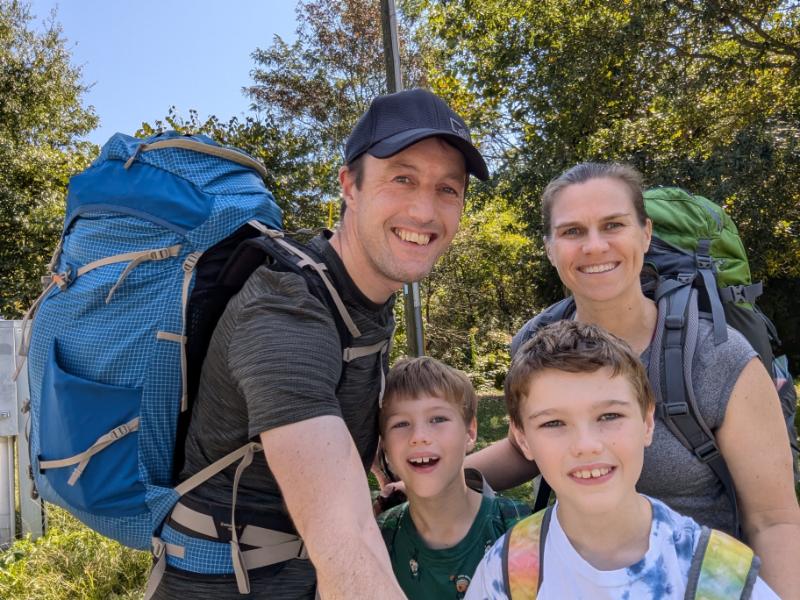
Crossing over the bridge into Harpers Ferry was a bit of nightmare, it being a Saturday afternoon in peak fall tourist season. Patience was required. Back on the WV side of the river, Lexi and the boys had hiked down to meet us, which was fun and a nice morale boost.

We biked along Shenandoah Street and Shoreline Drive, all the way up the long hill to the NPS parking lot, which was the start/finish area and transition area for the final leg.

The final leg was a running/hiking loop around Murphy Farm, with a last handful of checkpoints to locate. We had the advantage of local knowledge so we found all the checkpoints and made it back to the finish line within the time limit.

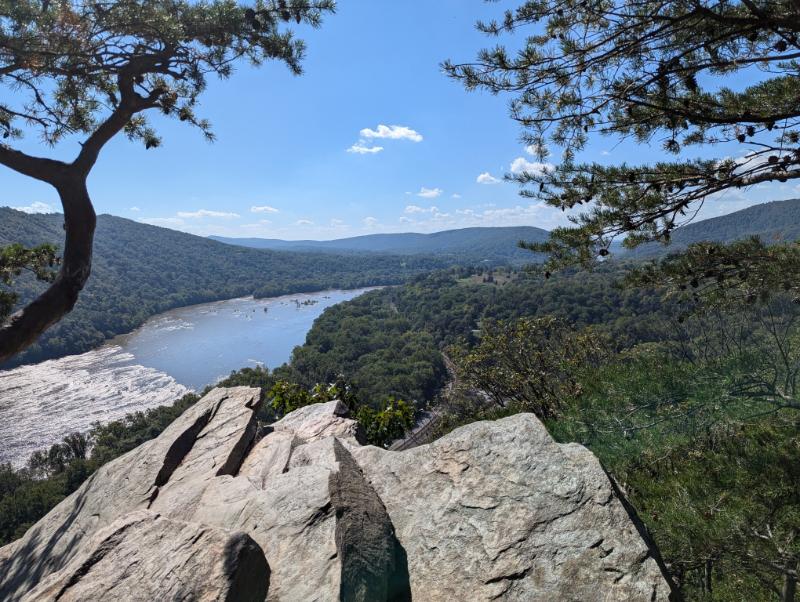
This is the wonderful lookout at the south end of Murphy Farm, looking south over the Shenandoah River, where one of the checkpoints was hidden.

Don’t be fooled by this final photo, we only started running when we came around the bend in the back of the picture 😉

(We had to look good crossing the finish line!)

Overall, this was a really good day out. Great people, beautiful scenery, and so fun to be fully engaged and in the zone. We ended up finishing 3rd in the 5-hr M-2 group. Not too shabby! (Although there were only 6 teams in our group 😉

Resources

Fall Foliage Adventure Race

BikeSUP Lander Boat Ramp to Monocacy Boat Ramp

21st September 2025

BikeSUP / 31 miles by bike / 10 miles river SUP / 9 hours 20 minutes

This was BikeSUP trip #7. (See mission #1 here, mission #2 here and a guide to BikeSUP here.)

I’m slowly section-paddling the Potomac River, mostly on a standup paddle board and using my bike to shuttle. Including this trip, I’ve done from Cumberland Valley Hiker-Biker Campsite downstream to Monocacy Aqueduct (excluding about a mile either side of Dam 4, which is definitely NOT paddle-able).

For this trip, I rode from Harpers Ferry to the Lander Boat Ramp, which is about halfway between Brunswick and Point of Rocks. There, I inflated my SUP, strapped on my bike, and paddled down as far as the Monocacy boat ramp. From there, I packed up the board and rode home.

Biking along the C&O canal with the SUP and paddle rolled up on the front rack
Preparing to launch at Lander Boat Ramp
Typical scenery along the river
It just about fits!
The river got super shallow in the braids between the little islands, just upstream of Point of Rocks
Lunch stop on Paton Island
Point of Rocks Bridge (US15)
Looking back upstream towards Cox Island. I came down the left channel (right in this photo).
Dickerson Power Plant, close to Monocacy Aqueduct
Monocacy Aqueduct, which I paddled under
Bike loaded up again for the ride home, Monocacy Boat Ramp
Chill 20 miles home on easy trails

Little Seneca Lake and Sugarloaf bikepacking trip (March 2025)

I had scheduled sinus surgery at the end of March, so I wanted to fit in a mini-expedition before then. As with most of my adventures these days, I love to start and finish from home, so the entire expedition is human-powered. Plus, there is so much to still explore from home that why would I need to go further afield?

I used the excellent MTB Project site to search for an interesting off-road route. This time, I found the Ten Mile Creek route that looked perfect. Somewhere new. Singletrack but not too hard (remember, I’m a middle-aged dad riding a loaded rigid bike. So, yeah, nothing too hard).

Conveniently, it was also close to Sugarloaf mountain, so naturally I included that ascent in my route and the superb gravel road off the backside of the mountain. To get there, I could utilize the canal and stay in one of the hiker biker campsites.

Perfect! Route done. Next was braving the chaos of the garage to dig out all my camping gear, since it had been a year since I last camped. With that done, I was ready.

Below, I share some photos from the 2-day trip. And even though the whole trip was less than 24 hours door-to-door, it packed in everything. Easy miles along the canal, a beautiful campsite, swoopy new singletrack, mountain hairpins, lovely views from the lookout, and, what I’m always searching for, the opportunity to push myself physically whilst exploring the great outdoors.

Day 2 was one of the best days I’ve had on a bike. Mega!

Day 1: Home to Turtle Run hiker biker campsite

27.5 miles / 154 ft ascent

Surly Grappler in bikepacking mode, with the front panniers mounted higher to avoid catching anything when riding singletrack.
Day 1 was along the C&O canal
Love this trail!
View from the cockpit
Camp at Turtle Run hiker biker campsite along the C&O canal
Beautiful evening light at camp.
Camp routine: dinner, mug of hot tea, and recording the day’s events in my journal.

Day 2: Turtle Run campsite to home, via Little Seneca Lake and Sugarloaf mountain

61.5 miles / 4,341 ft ascent

The lock house at lock 25, where I turned off the canal towpath to head into Maryland.
On to the quiet backroads of Maryland.
Because the water pumps were not operational along the C&O canal yet, I had to stop in Poolesville to refill my water bottles.
On to the singletrack around Little Seneca Lake!
More swoopy singletrack.
At the end of 10 miles singletrack. Harder and slower than the road! But more fun! 🙂
Approaching Sugarloaf mountain.
One of the hairpins on the ascent of Sugarloaf mountain.
View from the top of Sugarloaf.
Enjoying the gravel road on the backside of Sugarloaf, on my way home.

Appalachian Trail overnighter with the boys

For his 9th birthday, Dominic asked to do a backpacking trip on the A.T. in lieu of a party.

We chose to hike from the Weverton Cliffs parking lot to the Ed Garvey shelter (about 3.5 miles) where we pitched our tent for the night. Even though the whole expedition lasted less than 24 hours, we had a fun time and made a core memory as a family. It was the right choice to keep the distance short; there was no complaining and no-one arrived at camp exhausted.

This is my second backpacking trip with the boys, in addition to a few bikepacking trips. I think it’s time for a longer trip now.

Here are a few photos from the weekend.

Day 1: Weverton Cliffs parking lot to Ed Garvey shelter (3.4 miles)

All smiles as we set off from Weverton Cliffs parking lot.
The side trail to the lookout at Weverton Cliffs is a worthy excursion. The view is fantastic.
At Weverton Cliffs lookout. The boys fairly race up the hills now, leaving Mom and Dad in the dust.
View over the Potomac River, with mountains L-R: Short Hill tract, Loudoun Heights, and Maryland Heights.
Owen doodled in his nature journal as we went.
Leaf rubbing in Owen’s journal.
An Eastern Box Turtle on the Appalachian Trail.
Our home for the night. A 15(?)-year old GoLite Shangri-La pyramid shelter.
Dinnertime at the Ed Garvey shelter.
The upturned tree became the boys’ basecamp.
Our tent with the Ed Garvey shelter in the background.

Day 2: Ed Garvey shelter to Weverton Cliffs parking lot (3.4 miles)

We awoke to a beautiful cloud inversion, glimpsed through the trees.
Gorgeous early morning light.
Ready for the off! We reversed our previous day’s route to return to the car.
Golden Trumpet mushrooms on a rotting log,

The Bike SUP Guide: Paddleboard Adventures By Bike

I’ve been fascinated by self-powered adventures, especially those starting and finishing at home, for as long as I can remember. Adventures that are self-contained and car-free. 

It’s the ultimate freedom. You have everything you need with you and no set destination to return to. (Well, apart from home, unless you’re setting off on something epic of course…)

For the past few years, I’ve been combining two of my favorite activities: standup paddling and biking. I’m fortunate to live at the confluence of two major rivers on the East Coast of the US. One has a bike trail running alongside it. It’s the perfect territory to perfect the art of using bikes and paddle boards to access and explore rivers. 

So when my friend Chuck texted me recently, asking if I wanted to paddle the next day, I said yes immediately. I knew I would bike to and from the river with my board. I packed that night so I could get an early start.

The following morning, I biked for 22 relaxing miles along the bike trail to our rendezvous at the boat ramp. My paddle board was rolled up and strapped to the top of my front pannier rack. Apart from slightly heavier steering, the effect on my bike handling was minimal.

At the boat ramp, I blew up my board and strapped the bike to the front whilst waiting for my friends to arrive.

When Chuck and Brenda arrived, they were intrigued by my car-free setup. Questions abounded. How is the bike strapped on? What’s the extra weight like? Is the board stable? To which I answered, yes! We launched and paddled into the main current.

The board was perfectly stable, even with the extra weight up front. The effect on board handling was negligible with the bike positioned over the centerline. One difference though: with all those sharp objects in front of me, I was extra careful to not fall forwards! Especially when navigating through the occasional bumpy riffles.

Our merry flotilla floated downstream enjoying the aquatic world gliding beneath our feet. We spied huge catfish, 70-year old river clams, and old tires beneath the surface. We startled a great blue heron and, later, saw a pair of bald eagles fly overhead as we continued downstream.

Eventually, busy-life demanded my return and the spell of the river was broken. We took out at a deserted boat ramp.

Here, I deflated my board, rolled it up, and strapped it on the front of my bike. I bid my companions farewell as my adventure continued. I swapped paddle strokes for pedal strokes and rode home, the river by my side, with a grin as wide as the bends of the river itself.

Route Tips

Many rivers have parallel roads and boat ramps. It’s likely you can create your own multi-sport loops in your neck of the woods.

Some pointers to keep in mind:

  • You want to be comfortable standing on your board before you try paddling with a bike strapped to the board as well.
  • Start with a small goal to get used to the setup and extra weight, both cycling and paddling.
  • Stick to flat water to minimized the chances of falling forwards onto your bike.
  • Keep in mind that it takes about 20 – 30 minutes to transition from the bike to being on the water and vice versa.

Biking Setup

Any bike will do, but it’s probably advisable to have wider tires for stability when you’re carrying the extra weight. Plus, you’ll likely want to fit a pannier rack so eyelets are a good idea (though it is possible to fit a rack without eyelets).

I’m riding a Surly Grappler, which is an all terrain drop-bar mountain bike. It’s ideally suited to this kind of adventure touring.

The Kokopelli Chasm Lite is the lightest paddle board in the world, so it’s uniquely qualified for this type of adventure. It rolls up small enough to sit comfortably on the top of a bike rack (or fit into a backpack if you’re a hiker!).

Most other paddle boards are too large and heavy to carry on the bike itself. You could carry them on your back in a huge backpack, but that’s not comfortable for longer distances. For heavier and bulkier boards, you can undertake car-free trips using a bike trailer. But the whole setup is much bulkier.

To carry a lightweight paddleboard on your bike, start by rolling up the board with the paddle inside the roll. Then wrap this board inside of the foam pad that you’ll use later on to protect the board. This SUP sushi roll is strapped on top of the front pannier rack.

A rear pannier rack would also work, but I prefer to have the weight up front. I find that heavily laden bike with all the weight over the rear wheel makes the steering very light and squirrely, which has led to one bad crash for me on a previous tour.

Carry the pump, fin, and other accessories in a frame bag or a seat pack.

PFDs (life jackets) are bulky. So far, I’ve found the best place to carry them is to strap them around the seat pack, which works pretty well. If you do this, make sure the straps are cinched super tight to avoid the PFD hitting your rear wheel.

Paddling Setup

Most paddle boards can comfortably carry a bike as you paddle downstream or across a lake. One caveat, you should only try this if you’re a fairly experienced paddle boarder with good balance. You don’t want to be falling on top of a bike. They’re sharp and expensive. To carry a bike on your board:

  • Tuck a pad under the front bungee straps of the board (to protect the board). Use a cutoff from a foam camping pad, or foam packaging, or something similar.
  • Remove the front wheel of your bike.
  • Strap the bike over the front of the board, with the handlebars twisted.
  • Put the drive side facing up (gears away from the board).
  • Rotate the pedals so the lower pedal hangs over the side of the board (it will dip in the water occasionally so you could optionally remove it if you like).
  • Use a couple of webbing straps under your board and threaded through the front D-ring eyelets to secure the bike (I like using Sea to Summit Accessory Straps).
You actually want the bike shifted a few inches further back than shown in this photo. So that the fork sits across the nose of the board to prevent it turning.
  • Strap the front wheel and any baggage on top of the bike.
  • Keep snacks, a drink, sunscreen, etc. accessible in a small dry bag clipped on top of the bike or to the handle in the center of the board. That way you won’t have to dig around under your bike to find essentials on the river.
  • Tie off loose strap ends to keep your board.
  • Set this all up next to the water. The board is an absolute beast to carry once it’s loaded with 40 lbs of bike gear (speaking from experience…).

Before paddling off, give the board a wobble-test to check everything is secure. Think about what would happen if your board flipped over. Is everything tied down?

Multi-day Expeditions

So far, I’ve done one multi-day bike SUP tour, over 3-days. But that was before I moved to a lightweight SUP, so I used a trailer to carry my board when biking. The trailer works fine, but it’s bulky and annoying when you’re cycling and then more gear to strap onto the board.

My goal is to add a pair of front panniers and a full frame bag to the lightweight bike/board setup above, negating the need for a trailer. I think that’ll be the best way to do multi-day bike SUP tours.

Watch this space…

Further Resources

A few other crazies have tried bike SUP adventures over the years, here are their stories: